Monday 22 December 2014

Till point shelf

I work in a retail shop and found that the till area can get a bit cluttered with extra little bits and promo stuff. I needed somewhere to store these items but keep them accessible to customers. So I made a shelf out of pallet wood.

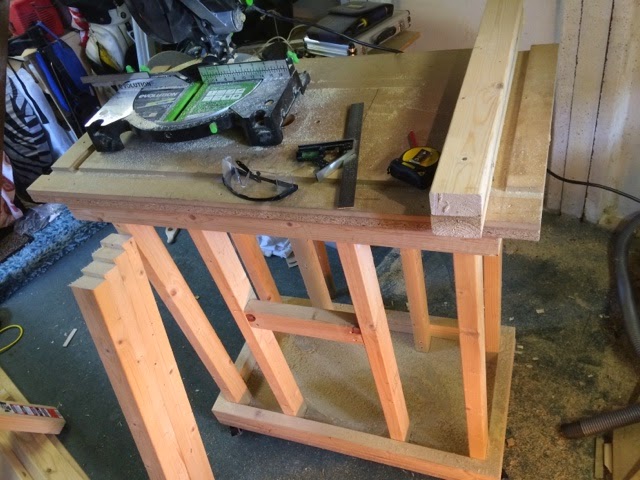
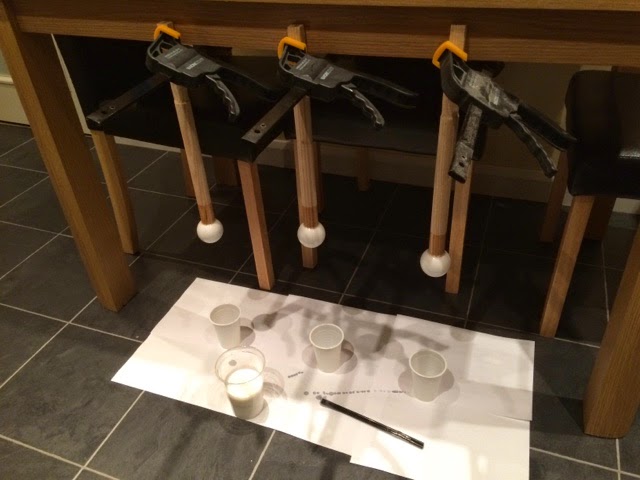
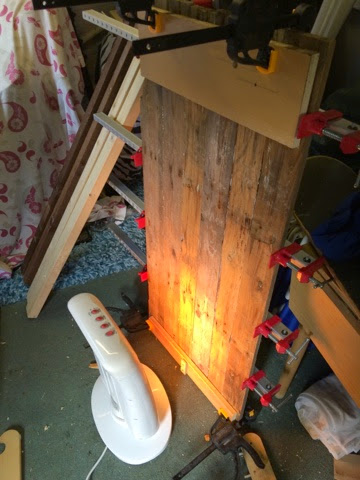
I started by gluing a few strips together and then drew squares on the glued boards.

After cutting each square out I cut a section out with my jig saw. This will be the front. 

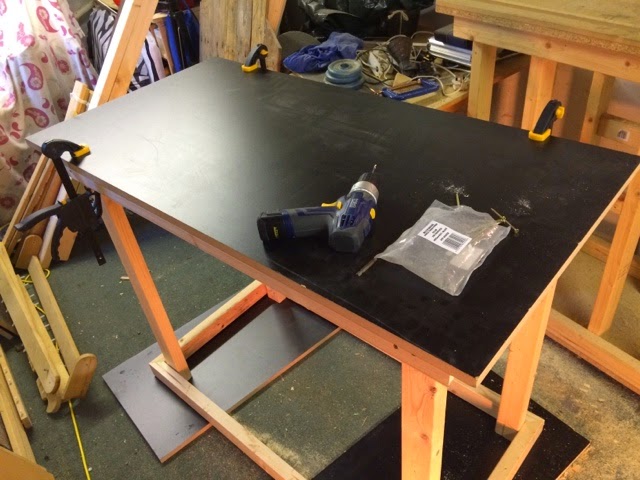
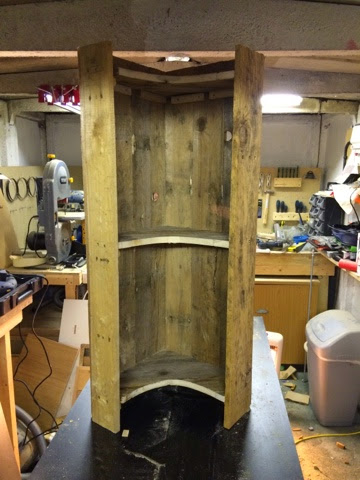
next i made the sides. i decided not to glue these as one big sheet for each side. instead i used small strips of wood to act as bracers, these will also act as shelf supports.

after lining up the sides and the bracers i could then insert the shelfs. the shelfs were then screwed to the sides. tip, always pilot hole where you are going to screw into, this will stop the wood from splitting.

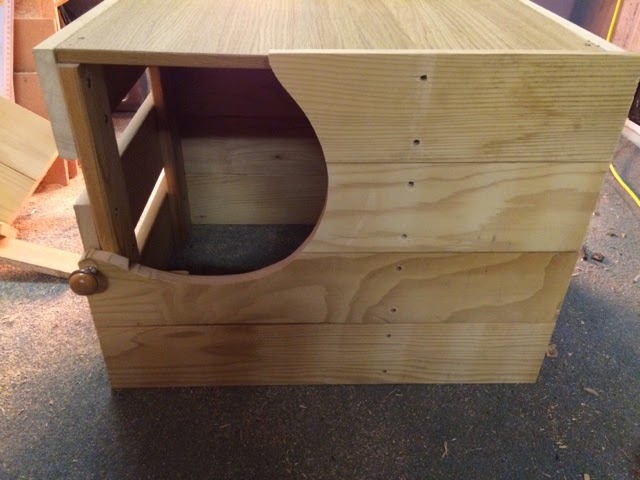
it all lines up pretty nice and i decided not to sand down any of the dirty patches, i think it adds to the look.

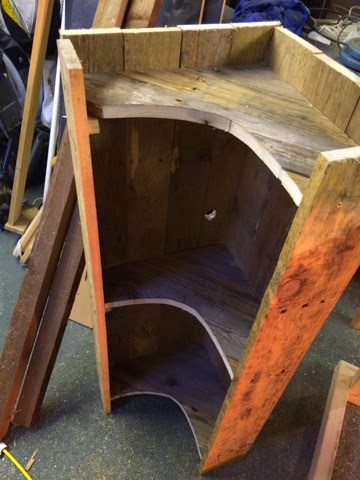
and finally i added the front sides, these are just single strips of pallet wood which are again screwed to the shelf.


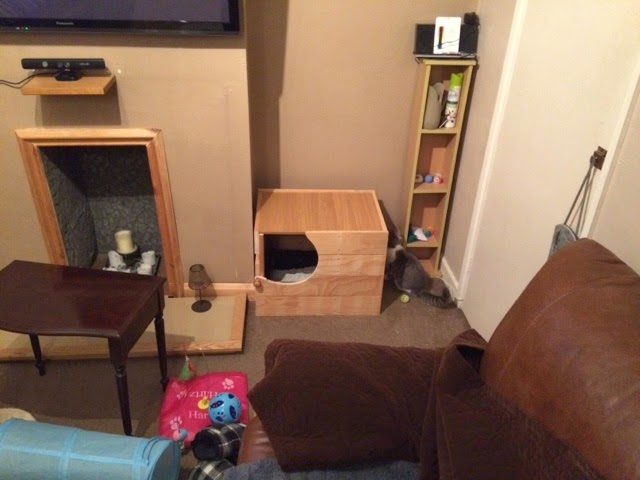
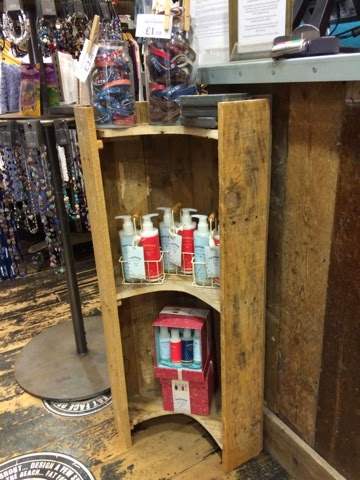
and here it is in action.
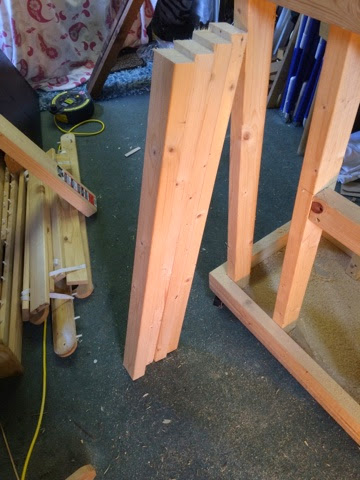
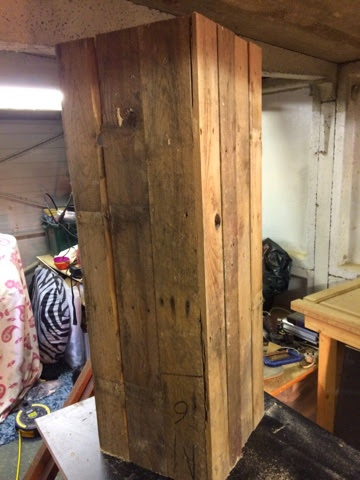
Friday 19 December 2014

Table saw

I previously made a router table and loved it! But I thought what else am I missing? a table saw! 
For my table saw I will use the same principles as my router table and try make them to same height so I can use my router table as an extension to my table saw. 

I started by measuring the legs but taking 3cm off as this is the difference between the casters I already have on the router table and the new ones I'm going to put on the table saw. 

I measured the work top then made a frame that will be screwed to the underside of the table top and help secure the legs. 
Always pay attention to your set square, your miter cuts might still be off. 

I made two of these frames, one goes under the work top and the other at the bottom of the legs. This will then give me a surface to attach the base. 
And here we are so far. I left a slight over hang on the front and sides so I can clamp or attach things if needed. 

Tuesday 9 December 2014

Cat litter tray box

I have made a litter tray box that sits over our kittens litter tray. It was all made from found wood again so costs were very low. 
I glued some strips together then cut them into the sizes I needed. 

I then cut some strips that will make the sides. 

I glued and screwed the pieces together, you will notice I have left some gaps so a bit of light can get in. 

I left a lip so the lid will sit on top and I am able to glue it down. 

This is how it looks so far with the back and side panels all glued. 


To make the door I draw a shape on the front and this will be the kittens little hole to get in and out. 

I attached a door knob and put the door on hinges so we have easy access to change the litter. 


Instant success, I plan to use this box as the base to my cat playstation. 

More to come…

Thursday 4 December 2014

Halloween costume swords

Well for Halloween myself and two friends decided to dress up as the brothers of the nights watch. To make the costume look amazing we needed amazing swords. Below is the process. Once again the wood is all found, old bed frame I saw in a skip. 


Bit of inspiration for the hilt. 


To make the pommel I stuck a polystyrene ball to the end of the handle then dipped it in liquid plastic. I let the hang and drip whilst drying to give them a point on the end. 


Belfast sink border.

I went on a mission sourcing pallets and getting people to find them for me. After spending hours dismantling the pallets I looked for projects. I made this surround for a relative for their Belfast sink.  

Corner workbench

So to make the most out of my workshop I made a corner workbench to match the one my dad made me.

After making a nice work space I decided to make some storage space too. I had dismantled an old chest of drawers and popped the drawers into the workbench. 


Sunday 30 November 2014

First project- Storage shed

So over the summer I moved into my new house! To help make room in my garage which is now my workshop I made this 2ft by 6ft storage shed.